Thursday, June 9, 2011

Colors - Part 3


I am big fan of Eric Carle.  The Hungry, Hungry Caterpillar is one of my favorite books from childhood.  But today, we read Brown Bear, Brown Bear.  My kids love this book and I do as well.  The colors are great and we always pick out our favorite animal.  Mine is the purple cat (purple is my favorite color, not such a fan of cats though).  This is a great book to use to teach colors.


We live in a hot, hot desert so outdoor activities are few and far between.  If we want to do anything outside, it has to be early or late.  Even then we don’t really escape the heat. But I have been wanting to get outside, so we went out early this morning to have some fun.  
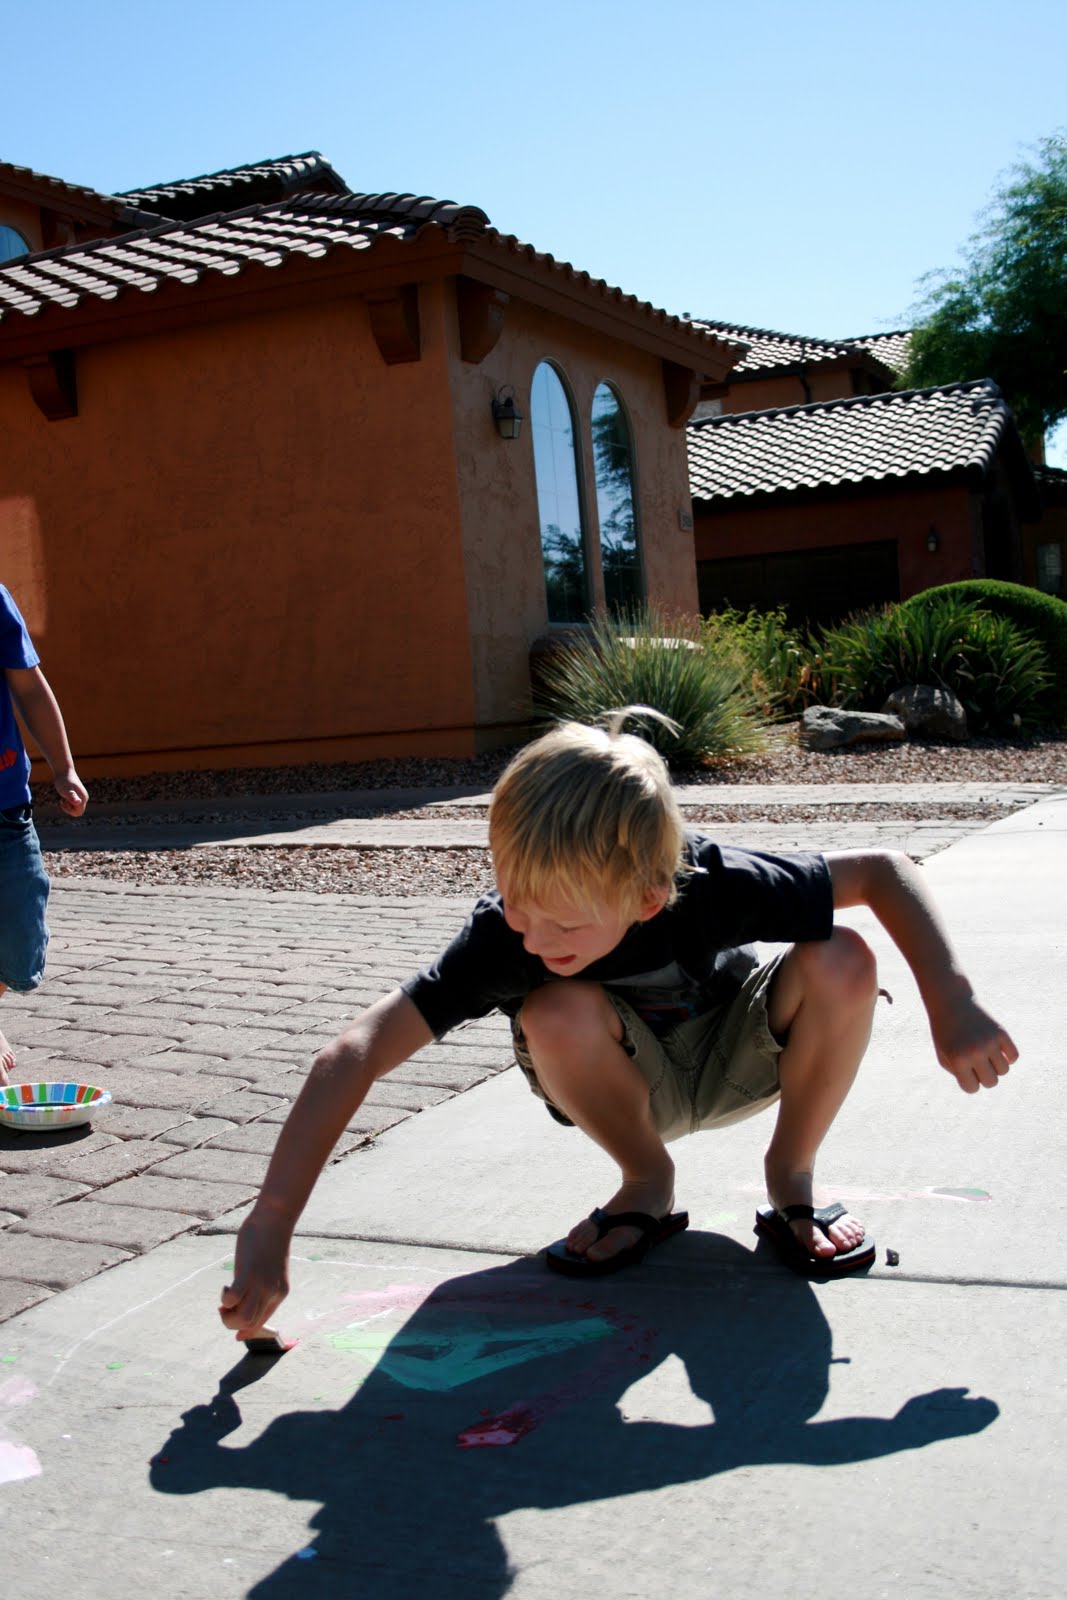
My kids love sidewalk chalk.  They usually end up scribbling or making new designs.  Today, we made sidewalk chalk paint.  Here’s what to do:
2 TBS Cornstarch
2 TBS Water
Food Coloring

Mix the ingredients together and you’ve got yourself some paint!  I only used about 5 drops per color and that seemed to make dark enough hues.  Grab cheap paint brushes and a big cup of water to use for rinsing.  Head outside and put that artistic itch to work!
My boys ended up splashing paint around and making random brush marks, but they loved it.  Until we all started sweating.  Seriously, nobody should be sweating at 8:00 am.  

Wednesday, June 8, 2011

Colors Part 2

 I love colors!!!!  We talk about colors every day.  My 3 year old is obsessed with them and asks everyone the most crucial question "what is your favorite color?"   Although my favorite color is green, she refuses to believe it.  She tells me my favorite colors are pink and purple. 

Trying to decide on a book today was difficult.  So we read several of our favorite books and just talked about how pretty the pages were and pointed out all the beautiful colors.  To name a few, Purplicious, No More Monsters For Me, The Wishing Ball, Harold the Duck, and My First Book of Colors (by Eric Carle).
For our craft today I decided what is more fun than making your own fabric?  I pulled out our tie dye stuff we've had for years, got out some white fabric and we had fun with colors!
The technique I used was to wad up the fabric, spray with the dye, lay it flat, and wad it up again.  I did this after each color.
 My husband and my little paint eater (picture following) rolled up the fabric, placed a couple of rubberbands on it to keep it tightly rolled and sprayed the fabric.  Then he opened it up and made a few designs on it.  I love the spray tie dye bottles.  They were so easy!
 We were so wrapped up in our projects that Holly was able to run loose with the red dye.  Yes, that is paint around her mouth.  Yep, be advised, keep a close eye on your children.

After our painting we went down to visit the ducks.
 Gotta love these summer days!
And if you know me by now, yes, the fabric we created today is going to be made into dresses.  I just didn't have enough hours in the day to make them.  Stay tuned, because I can't wait to see how they'll turn out!

Tuesday, June 7, 2011

Colors - Part 1

Color Chaos! by Lynn Rowe Reed


Something quite strange is afoot at Colin's school. The new substitute principal, Mr. Greystone, has a million rules. He becomes so furious when students draw on his bulletin board that he bans colored art supplies, which has an eerie effect on the once-vibrant school. But Colin's crayons don't want to stay put in the trash can, so they plan an escape. Will kaleidoscopic hues return to Hughes Elementary?


This is a fun and very colorful book.  It even teaches kids about colors and has some fun activities in the back.  
My kids have not always been big fans of coloring or drawing.  This was such a puzzle to me.  I am not an artist at all, but I have always wished that I were.  I love doodling, painting; coloring books aren’t even safe near me.  Why wouldn’t anyone like painting or coloring?  Well, my crazy kids didn’t.  Until they did.  That’s how fast it happened.  All of a sudden my oldest was a drawing/coloring machine.  My second followed close behind.  They are always begging asking me if they could paint.  Remember how I said that I love painting?  Well, I don’t love cleaning it up.  So I rarely gave into the pleading.  All that might change after our activity today.  The mess was completely worth it.
I was trying to find a fun art project to do with my kids and came across marble painting.  My son informed me that he did it at school, so he was kind of an expert at it.  Right then I knew we were in good hands.  
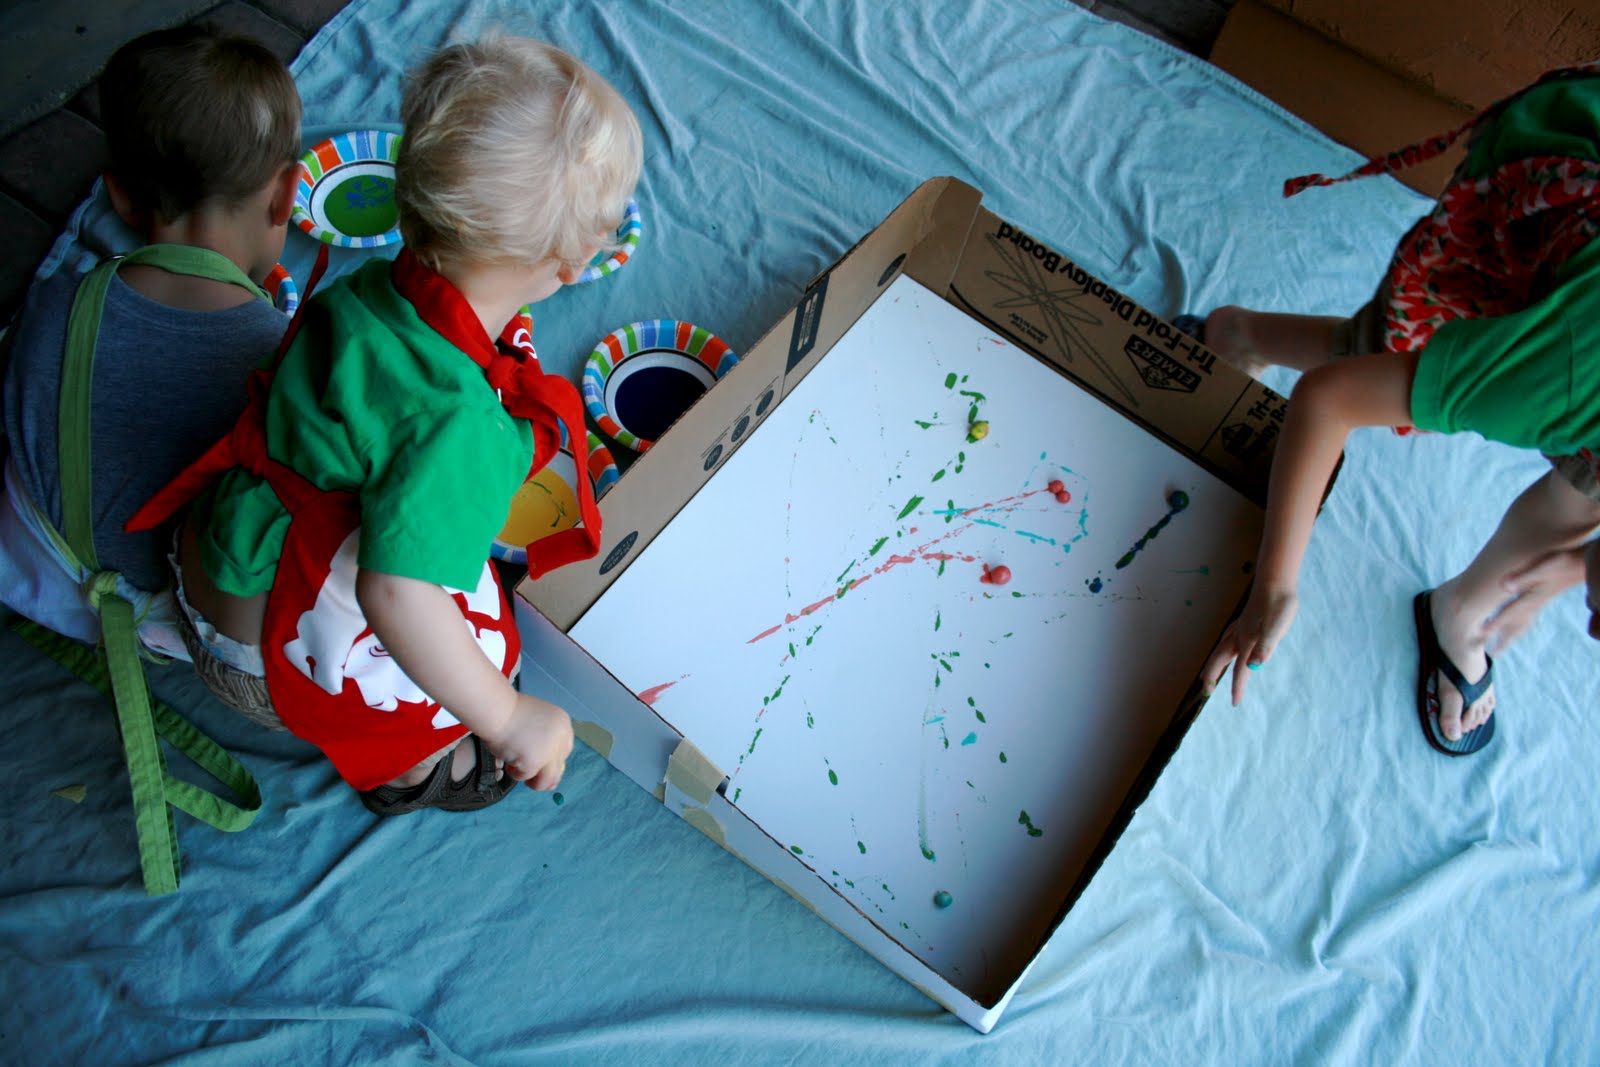
I had a canvas that I had attempted to paint once (good intentions, right?) that I was no longer using.  I lightly sanded it and spray-painted it white.  Reduce, reuse, recycle.  That’s me, Mrs. Green.  Anyway, so I cut a cardboard box up, lengthwise and taped it around the canvas.  This prevents the marbles from flying all over the place during the process.  I poured our paint into paper bowls for easy access.  I could not find marbles, so we used gum balls.  Do not reuse those.  My boys were disappointed with that suggestion.  (My baby didn’t listen and popped one in his mouth.  It was covered in yellow paint.)  
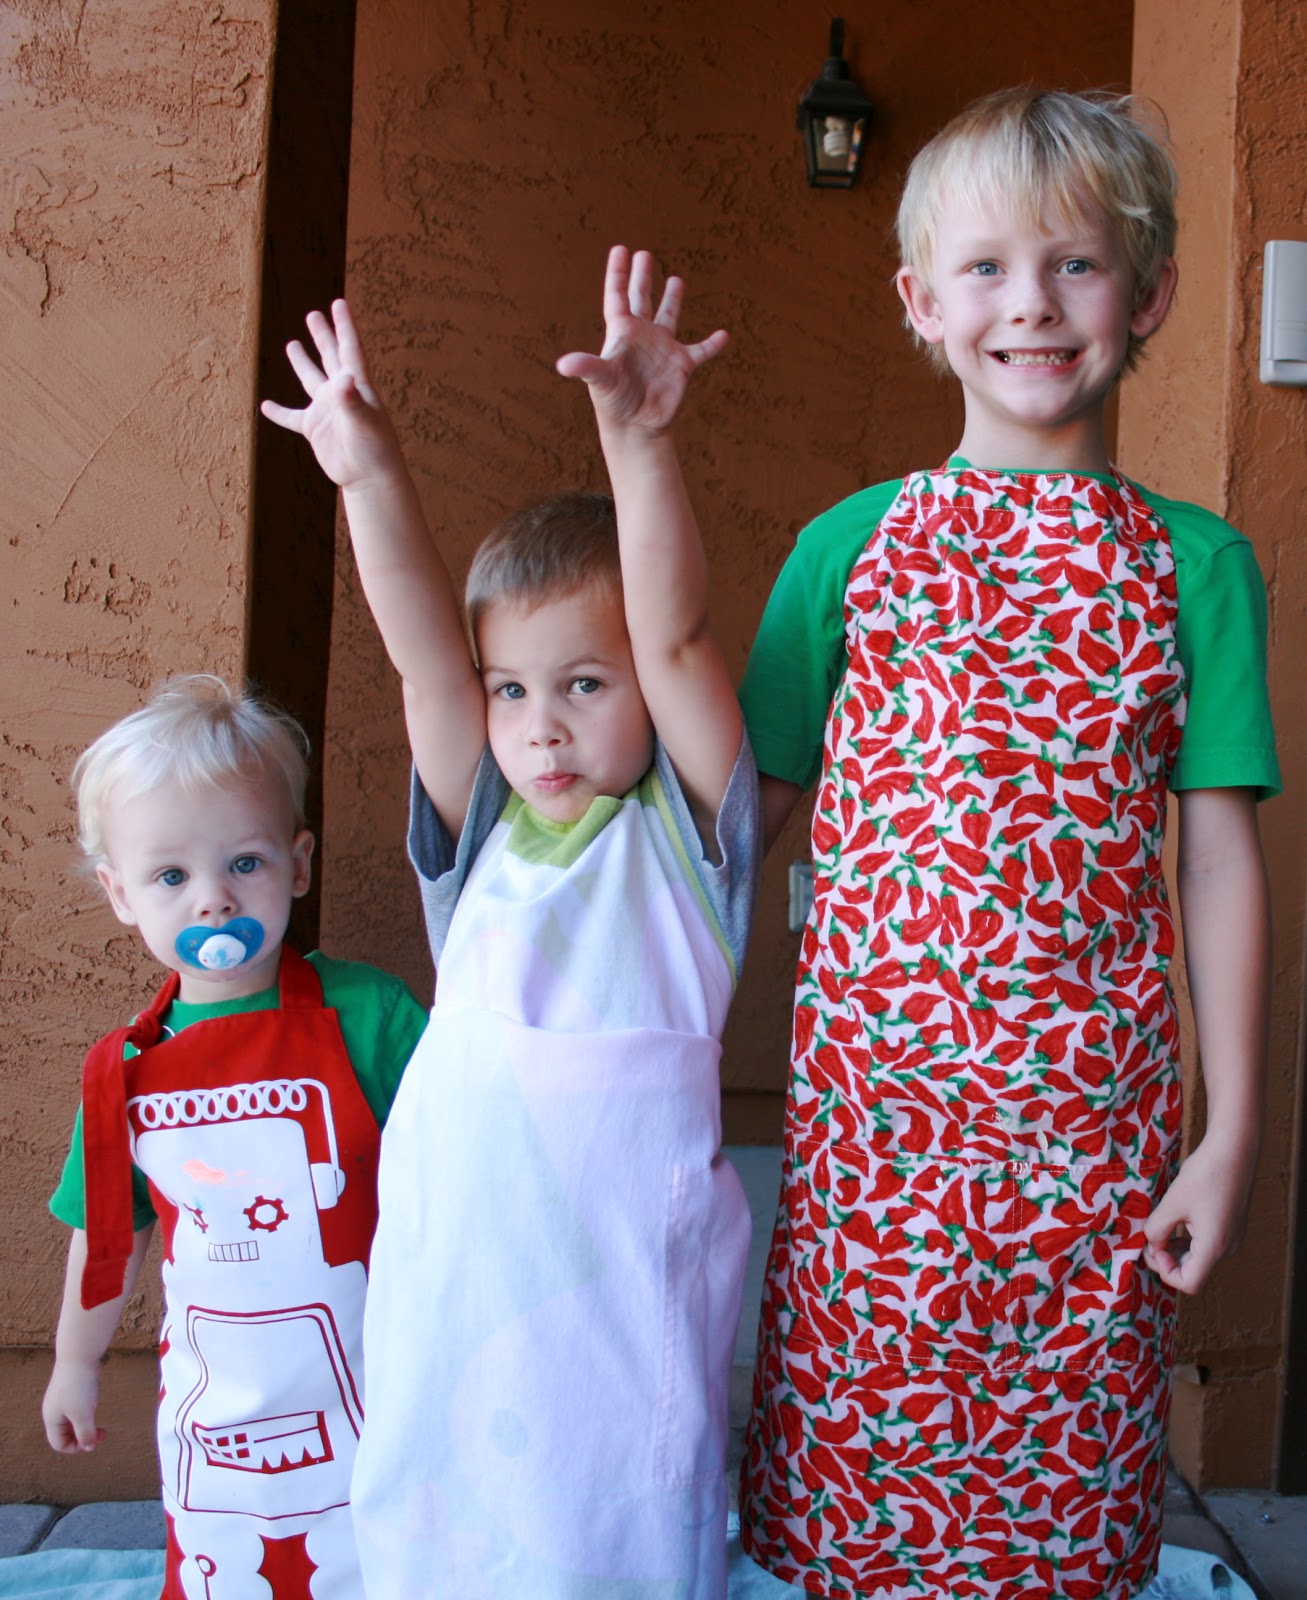
I almost forgot to put aprons on my kids.  This is a MESSY activity.  Put them in old clothes or a smock.  You won't regret it.  And make sure they go to the bathroom before you begin, too.  Unless you enjoy cleaning paint off of toilets.  I don’t so much, but didn’t heed this step.  
Now the fun begins.  Dip the marbles/gum balls in the paint and roll them all over the canvas.  Those little fingers are going to get messy.  I brought out paper towels to clean up the occasional mess.
Pick up canvas and tip it every which way, this gets the colors mixed around.  Do this until your masterpiece is complete.
And there you go, a beautiful painting made just for your home.  Color chaos...

Linking up to 30 Days...

Monday, June 6, 2011

COLORS!!


It’s Monday!  Time to introduce our new theme for the week.  We thought it would be fun to have a week full of COLOR.  It’s easy to find books about colors and most of them have wonderfully vivid pictures.  So get ready for lots of crafts, activities and great recipes...

Saturday, June 4, 2011

Adventures and Road Trips - Part 4

When I graduated from high school one of the books I received was Oh, the Places You'll Go!  It's an inspiring book that tells us of life's ups and downs.  Slip ups happen and we have to find success within ourselves.  It's a book that is great for any age.  Moving up to any grade is nerve racking and exciting all at the same time.  But before you move onto your next adventure in life you have to survive the summer.  You can recreate yourself.  How many people have you met that come back from summer vacation a different person?  My 3 year old daughter at the beginning of last summer was a bit socially awkward when it came to playing with other children.  She would stand on the side lines, watching, wanting to join in but didn't know how.  But after a summer playing with cousins she was able to learn to play with others.  On and on you will hike.  And I know you'll hike far, and face up your problems, whatever they are. 
Enjoy your summer!  Improve who you are.  And will you succeed?  Yes!  You will, indeed!  (98 and 3/4 percent guaranteed.)


I decided the best way to start a fresh summer was with a new dress.  My girls love dresses, especially my 2 year old.  When I put pants or shorts on her she says "ouch!"  They love to dance and twirl.  It's so much fun for me to watch them love something i have made.
My daughter wears 2T-3T.
I'm going to call the large purple piece the main piece.
The purple strip I will call the ruffle.
The orange strip I will call the strap.
And the Orange piece I will call the bust.
Take your 4 bust pieces and sew 2 of them together, matching the right sides together.  Now you should have 2 bust pieces.  Turn right side out.  (like pictured below.)
Then match those 2 pieces together and sew along the sides, leaving the top, under arm, and bottom open.  See picture below.
I did not take a picture of this, but I sewed the main piece together by matching right sides together and sewing, making a tube.  Across the top sew a gathering stitch and gather the main piece until it is the same size as the bust.  Pin them right sides together and sew (pictured below). 
Here is how your dress should look so far.
Now take your strap and fold it in half, iron, and open it back up.  Fold one side in to the crease, iron (pictured below), then fold over the other side to the crease and iron.
Do this for both straps.
Sew a gathering stitch along your "ruffle" after folding it in half and gather it until it is the length of the strap.
Place the ruffle inside the strap (like a hot dog in a bun).  Pin and sew along the edge.  I found this to be very difficult and if I make this dress again I would try to sew this differently.  You have to make sure the ruffle doesn't slip out from the strap.  I found it was easier to hold it in versus pinning.
Fold the top part of the bust in.  I folded the back piece in a little further than the front piece.  I don't really know how to explain this but I hope it makes sense.  It is pictured below but it is hard to see.
Place the straps inside the front piece, pin and then put the into the back piece and pin.  Try the dress on your little model and adjust the straps as necessary.  Sew a top stitch across the top.  Hem the bottom and you're done!
My measurements went as followed.
I measured just under her arms (20").
For the main piece width I added 8 inches to the bust=28" and for the length I measured from that same spot I measured under her arms to my desired length.  Which was 20".  So the main piece was 28"x20"
The bust I took her bust measurement (20") and added 2".  For length I think I cut it 5 inches.  It just depends on how big you want that bust piece.  At this point it was a 22"x5".  Then I cut it in half making it 11"x5"  To make the under arm area I folded the 11" piece in half and made a tiny cut 2" on the side and 2" from the top and then cut in a curve.  You can skip this step.
I didn't really measure the straps or ruffle but I think the ruffle was somewhere around 3"x16"  I think the strap was somewhere around 1.5"x10" (in the photo the strap is wider than what I ended up using).
Enjoy!
I also made a purse bag, I'll add that tutorial later.  It's my birthday so I'm going to go enjoy the rest of my day by relaxing by the pool!

Thursday, June 2, 2011

Adventures and Road Trips - Part 3


One of my favorite books to read to my boys is Josefina Javelina by Susan Lowell.  Not only is it a fun title to say out loud, (*go ahead try it*), it is a very fun story.  Josefina dreams of becoming a famous ballerina.  So she leaves the desert and heads for the big city of Pasadena.  At the talent agency, she meets White E. Lamb, who is more than he appears.  He’s actually a coyote and a chase ensues.  Josefina impresses everyone with her fancy footwork during her escape and becomes a famous ballerina.  My kids laugh out loud when I try to sing a few of the parts to them.  The pictures are vivid, the animals funny and the text clever.  This is a book anyone needs in their library.
We are planning a 2 week vacation this summer and I thought it would be fun to make luggage tags.  We don’t want to mix our bags up!  So my boys and I perused free clipart in search of the perfect tags.  They decided on rocket ships (that’s usually the winner in our house). 
Materials:
-Two pieces of thick felt, big enough to fit your tag
-Plastic name tag covers, I got mine in the office aisle at Walmart for $1.58
-Scissors, thread, sewing machine (optional), pins
-Paper for name and number 
-Ribbon, or whatever you choose to use to attach tag to luggage
1. I printed out a picture of a rocket in the size I wanted and traced it onto a piece of thick felt using chalk.  I then placed another piece of felt below it and pinned them together.  I cut out two rocket ships, two birds-one stone style.  


2. I cut out a “window” or opening for the name and phone number to show through on the top piece.  Then I placed the two pieces together again and positioned the plastic name tag cover in the right place.  I removed the top piece and hot glued the name tag in place.  Replace the top piece and then pin both sides together.


3. Sew pieces together, making sure to leave an opening on one end, so that you can remove the name card.  At the end of the tag, I cut a small slit to fit a ribbon through.  This is how the tag will attach to the luggage. 


My boys were pretty excited and I think the tags turned out pretty cute.  Now if only our vacation was only sooner...

--monica
Linking up to 30 Days' Pity Party.


Wednesday, June 1, 2011

Adventures and Road Trips-Part 2

 My book for today has quickly become a classic in my home.  My girls absolutely love this book.  It is about Harold the duck.  He goes on an amazing journey.  One day he is just hanging out with his friend when he finds a stick of gum.  A wonderful idea takes him high into the air, when suddenly his bubble pops.  This adventure leads to Harold becoming the best surfer in the world.  Find out more about Harold and his adventure by clicking on the link to the right so you can own the book yourselves.  It's  certain to be a favorite in every house.
On our adventure today we wanted to have the same fun that Harold had.  My friend suggested water balloons and I thought that was a GREAT idea!  We filled up about 20 or so balloons and took them out on the lawn to watch our bubbles "POP, " like Harold's.
 My 2 year old did not like the water balloon idea.  At all.  As you can tell in the picture, she took off running as fast as her little legs could carry her.
Lucky for me, her friend had come over to play.  She loved the water balloons!  She also loves Harold the Duck.  We bought her the book for her 2nd birthday and she reads it almost every night.  It is pretty safe to say it is one of her favorites as well.

 She really loved the water balloons.
 Yep, still hiding.

A big bubble that carried Harold away was not his only adventure.  I decided we needed to try and find a way to surf.  I found a couple of boards we had on hand.  Stacked them on top of each other and then placed them on a dumb bell.  First I tried to balance the boards on a bottle of pills, I'm not going to admit to my weight but let's just say I smashed the bottle of pills.  If you do try this I suggest you find something very sturdy, like dumb bells.  To be honest, it was pretty DUMB of me to try it on a bottle of pills.  The bigger the object below the boards the bigger the challenge.  Try and find out who can bust the best moves.

Finally, I had to find a fun way for my 2 year old to pop bubbles.  The bubble in the book is her favorite part.  So I decided if she couldn't enjoy the water balloons I knew she would enjoy some bubbles.  


I hope you enjoy Harold the Duck as much as we do.